Well, I mentioned on facebook that this party just about did me in, but it turned out great and I have so much to share. This post will set the scene for you…invitations, decorations and the cake. I will follow up with posts on the crafts, the mystery and the goody pack.
As soon as Erin said Mystery Party, I jumped online to scour the internet for ideas. It was nice to have Pinterest help me along too. I found most of my inspiration from The Decorologist, Focus Jennie and The Moore Minutes. The Decorologist gave me a jump start with a fantastic free printable invitation – thank you!!! For the free printable go here. All we did was change the color scheme and the names and places of course.
The Invitation

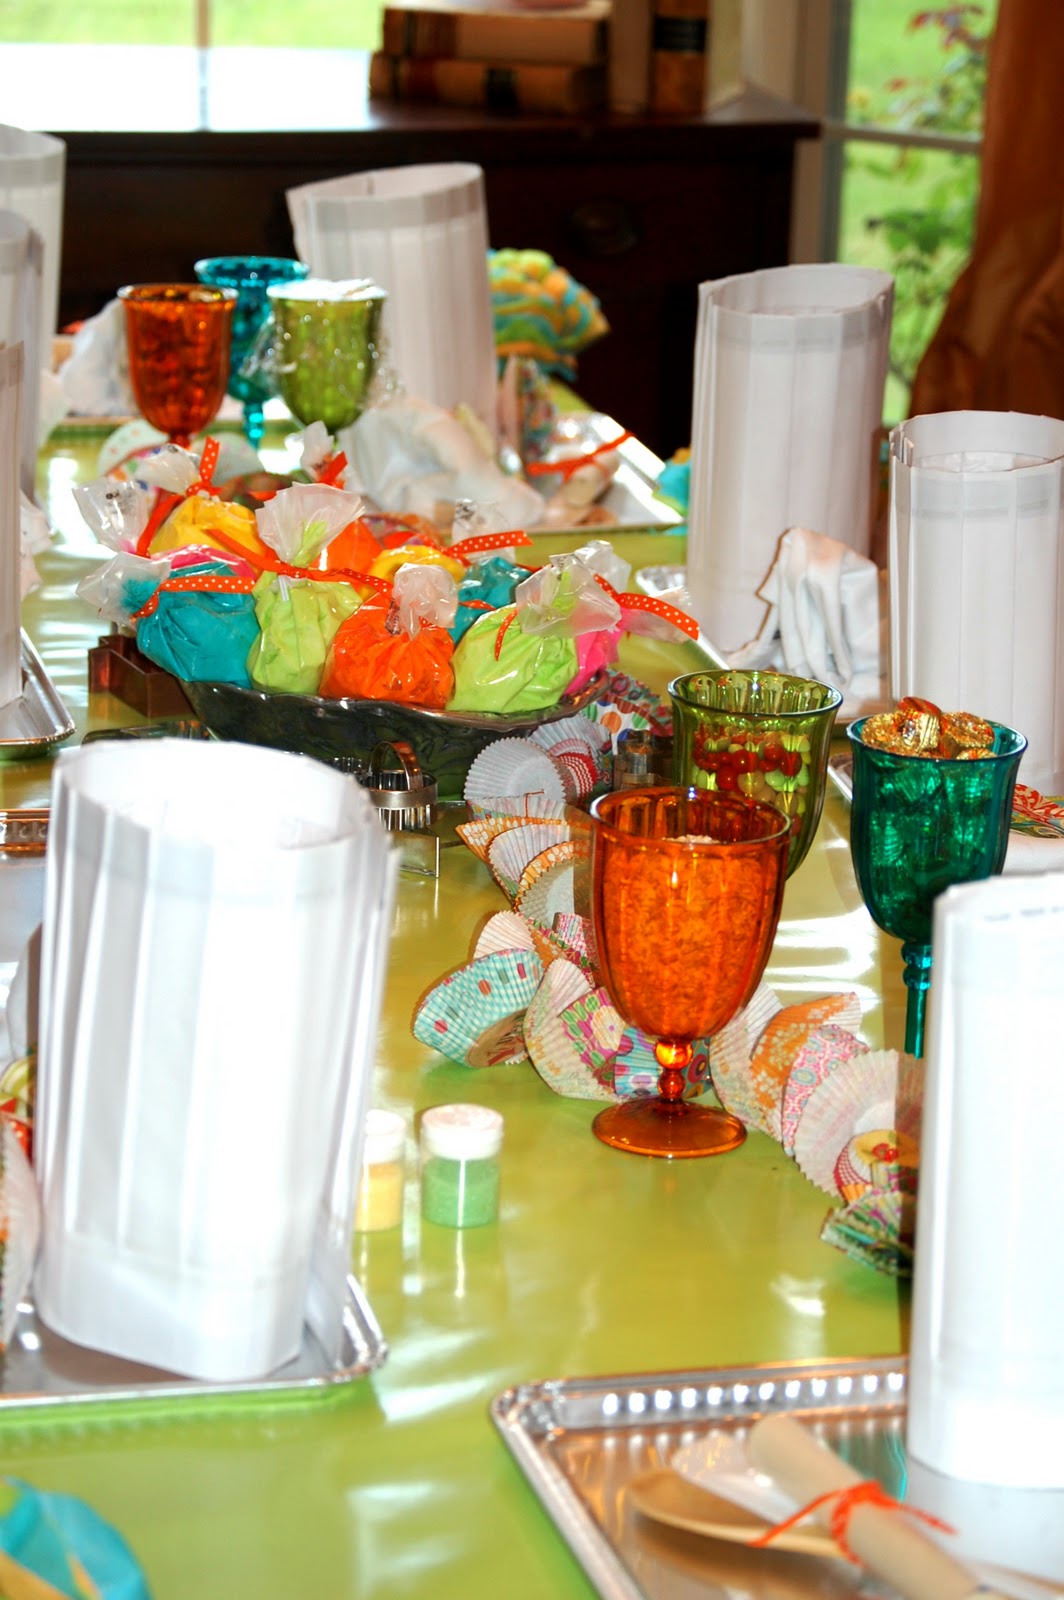
Decorations
We kept the decorations fairly minimal. I delegated most of this job to my 10 year old. He drew and cut out giant question marks and traced my husband’s work shoes to leave mysterious footprints leading from our front door throughout the house. I thought it was so fun that the whole family got involved in the process, not to mention it gave me one less thing to worry about. A win-win.

Our little detective is on the case!

These door pictures really remind me that I need to paint them ASAP!


We threw some candlesticks and rope on our foyer table along with the game Clue, some mystery books and an old suitcase to set the mood when our guests walked in.

Oh, and I can’t forget the “Top Secret: Off Limits” signs we posted to close off the stairs and the office. Two reasons for this…it looked the part and it kept everyone on the main floor (plus, my office and upstairs might have been a bit messy, shhh, don’t tell).


And it seemed to me that black and white just worked for this party, along with the accent color of yellow that Erin chose for the invitation.


The Cake
Erin and I both agreed that a plain white frosted cake with a black question mark was the perfect cake for this party. However, when I placed the order, they steered me clear of black frosting. They said it would stain our teeth for at least 2-3 days. I really didn’t want to be remembered as the mom who stained a bunch of 2nd grade girls’ teeth, so we got our thinking caps on.
This is one of those times when the fallback plan ends up being better than the original. We made the question mark out of mini-Oreos and the dot out of a large Oreo. The only mistake I made was not to buy an extra bag of Oreos to hand out with each slice of cake. Take note, and I’m not kidding, those girls were beyond giddy about those Oreos!!

Please ignore the divot where an Oreo fell.

We also kept the menu to the very basic - pizza, lemonade and water. I’ve done more food at other kid’s parties, but when it comes down to it, they are so excited, they just want to scarf something down quick and move on.
So those are the basics to set the scene. In my next post, I will give you the lowdown on the fun stuff - the crafts, clues and take home gift pack. Good stuff to come!!


![clip_image002[20]](https://blogger.googleusercontent.com/img/b/R29vZ2xl/AVvXsEgKa9VdF3MQQnUGY3iVKxUtbmo-bL7ujYPdbNVl7lVxlCeHVNfT56g1SxaxQUUlO7Jh2hWhPQa4BjNDMcpkXWaREfdS9m222ia0uvv2fBME-5RB9Xdy-1TvjJ9JEqAsGp08mtcH4DT-3f8/s1600-h/clip_image002202.jpg "clip_image002[20]")

![clip_image002[6]](https://blogger.googleusercontent.com/img/b/R29vZ2xl/AVvXsEhi5nQABk3T-ySMc05lM-ZTkc1wlelwrhGJcAYlzit_GtM7SkueDwqxT5CvZCkOSP-17OtCAqvAHk4ARvMCiKSqbIZzRj0F6Sb-VLMPXWTKWZ3JffOvSN2uT7N2uHhzg6I-CGGcenztRS8/s1600-h/clip_image00262.jpg "clip_image002[6]")
![clip_image002[8]](https://blogger.googleusercontent.com/img/b/R29vZ2xl/AVvXsEjy5UWASVjAnMH_CZUbZ91Ub68empOfOLKEGUqo-l4FlyiiUkyrlq2oZ-Y6gh3dJrLM19AzXrznKRP7HjhewfXKAcT_hZmqyqWdPldMH7HHnVWWfxKrPXdca3MUXrmAQY-k618K3D-n7wQ/s1600-h/clip_image00282.jpg "clip_image002[8]")

![clip_image002[4]](https://blogger.googleusercontent.com/img/b/R29vZ2xl/AVvXsEgaCfCFSJ-tNt4AIpHZZjixtpwc15WFRvvHCX08ZCUnnaw7ubmVEZQSWS2gl__bePbvnVbg4qot7c9ayUulLZCmFZvKiUFwK8DPlMOM6GLIEe3mvAyKBcdMzD1hgwL_7PbDTyPSs5vGIss/s1600-h/clip_image00242.jpg "clip_image002[4]")
![clip_image002[10]](https://blogger.googleusercontent.com/img/b/R29vZ2xl/AVvXsEhFnnTWU37_k3hOGIke6VNfaN-xdZMalRpWFVf8drpmGDGStc6Q3p9KkP3DD0iG_mAiUH0L3F53HQPBuaP4b0LaKw5LYiuyKsF6iRGg4DUDrSXI0RV3VzsjPahLFShJ2SeJL00GrVrSGT4/s1600-h/clip_image002102.jpg "clip_image002[10]")
![clip_image002[12]](https://blogger.googleusercontent.com/img/b/R29vZ2xl/AVvXsEg1juk1dxFYYo-K_QekeqZt8lLrmzWipexWnmEAILLqhq7nGDC58F93nAFDUP3AzLXHpza9ZrlB-EQ4ppsXu4Akyj9onwNIMQl6TrxR0k7Hmn2XdwPL9qt0bR6tLn4vWEN8d4p0aLcSYPw/s1600-h/clip_image002122.jpg "clip_image002[12]")
![clip_image002[14]](https://blogger.googleusercontent.com/img/b/R29vZ2xl/AVvXsEiJwL9TT_gjDn95rHmK5VYsunUm8Oc0GeBhWkTGCl1iARwEdqvEafRU5QPp4RV91tdR7PvJ2-hc8YKWXazle2GKzMNFLasg2JuWDAe0r843tXXiKsyPGnJYz1HdSzLvv2rKdJ_AqLWx2EQ/s1600-h/clip_image002142.jpg "clip_image002[14]")
![clip_image002[18]](https://blogger.googleusercontent.com/img/b/R29vZ2xl/AVvXsEhMejelZXN0-TfOuAVkoI0QNTVYv7lL7WdKfRuDb68DWNxB5iLfqdlUmvIlingBiPh1mLVrPHDEx4NwG2PA4xBjvMWNcTogpF73tUf7SAjMyJ3KlIOjvJqRsxVqH-wiwaV-fv5FhU59o9k/s1600-h/clip_image002182.jpg "clip_image002[18]")